


Table of Contents
TogglePeace Lily Indoor Care Requirements: Light, Water, Temperature, and Soil
🌿 Peace Lily Care – Quick Takeaways
💧 Water when top inch of soil is dry (100 ml for 8” pots)
🌡️ Temperature: 65–80 °F (18–27 °C)
☀️ Indirect light, avoid direct sun
🪴 pH 6.0–7.0, well-draining soil
🌼 Fertilize in spring/summer with 10-10-10
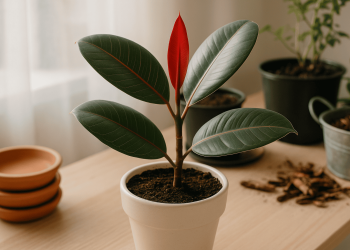
Bringing lilies indoors can instantly brighten up any space, but their health depends on nailing a few non-negotiable basics. Light, water, temperature, and the right potting mix are the pillars for ensuring a thriving Peace Lily (Spathiphyllum) or a classic Lilium, with each factor playing a key role in the plant’s daily care.
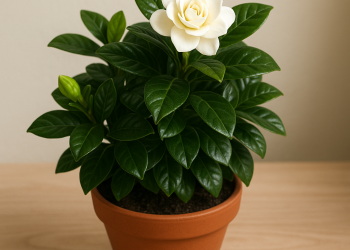
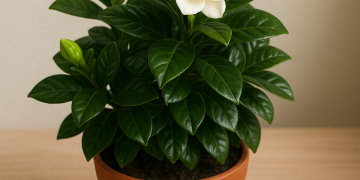
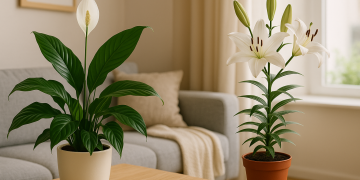
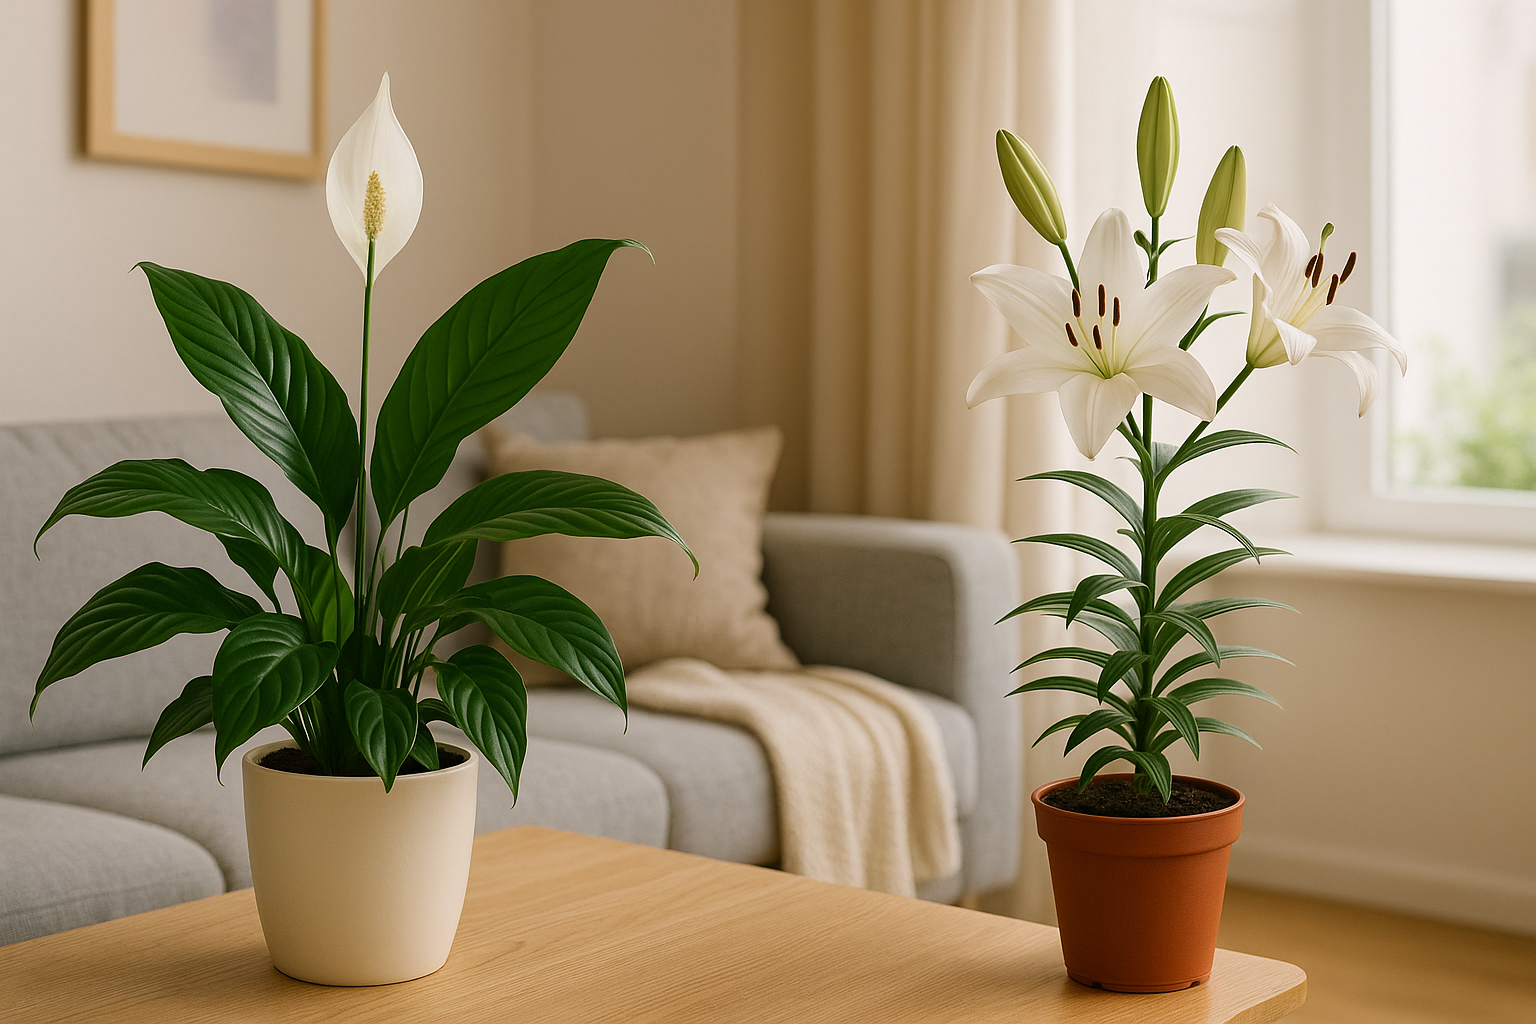
The foundation starts with placement. Both Peace Lilies and Liliums need abundant indirect light for healthy growth. Direct sun tends to scorch their leaves, so select a spot a few feet from a bright window or behind a sheer curtain. Peace Lilies are noticeably more forgiving, thriving even in lower light corners where Liliums may not bloom fully. This subtle difference means a Peace Lily can easily settle in offices, bathrooms, or north-facing rooms, while Liliums shine best where filtered light is consistent but not harsh.
Watering lilies correctly is essential to avoid common issues like yellowing leaves or root rot—hallmarks of overwatering or poor drainage. The goal for both plants is lightly moist soil, never soggy. For how to propagate a peace lily successfully or to keep your plant robust, start by watering when the top inch of soil feels dry. Peace Lilies may ask for water up to twice a week, particularly in warmer rooms, whereas Liliums can handle brief dry periods between waterings. No matter the species, empty the saucer after watering to protect roots from excess moisture.
Temperature is another critical point: both types of lilies prefer a steady range between 18 and 24°C (64–75°F). Sharp drops or drafts can cause wilting or leaf drop, so keep plants away from open windows and cold corridors. While humidity isn’t a dealbreaker for Liliums—who actually prefer moderate levels—Peace Lilies appreciate occasional misting, especially if indoor air is dry. This extra step supports their lush, glossy foliage.
Choosing the right pot and soil unlocks longer lasting health. Good drainage is non-negotiable: select pots with drainage holes and use a loose, organic-rich substrate. For both types, typical indoor plant soil works well; adding perlite can enhance breathability. If you’re new to indoor gardening, self-watering pots and soil moisture meters help take the guesswork out of watering frequency, making care more manageable.
Related Article
Having trouble keeping your soil evenly moist? Learn practical ways to improve your potting mix’s water retention and give your lilies a healthier, more consistent growing environment.
👉 How to Make Your Soil Retain More Water: Practical Solutions for Home Gardens
For optimal health, both Peace Lilies and Liliums prefer slightly acidic to neutral soil with a pH between 6.0 and 7.0. When watering, aim for approximately 100 ml of room-temperature water per session for medium-sized pots (around 8 inches in diameter). During the growing season, use a balanced 10-10-10 liquid fertilizer diluted to half the standard strength to avoid overfeeding or root burn.
Ready to get started? With attention to light, measured watering, stable temperatures, and a quality substrate, both Peace Lilies and Liliums can flourish beautifully inside your home.
Peace Lily Daily and Weekly Care: Simple Routines to Prevent Problems
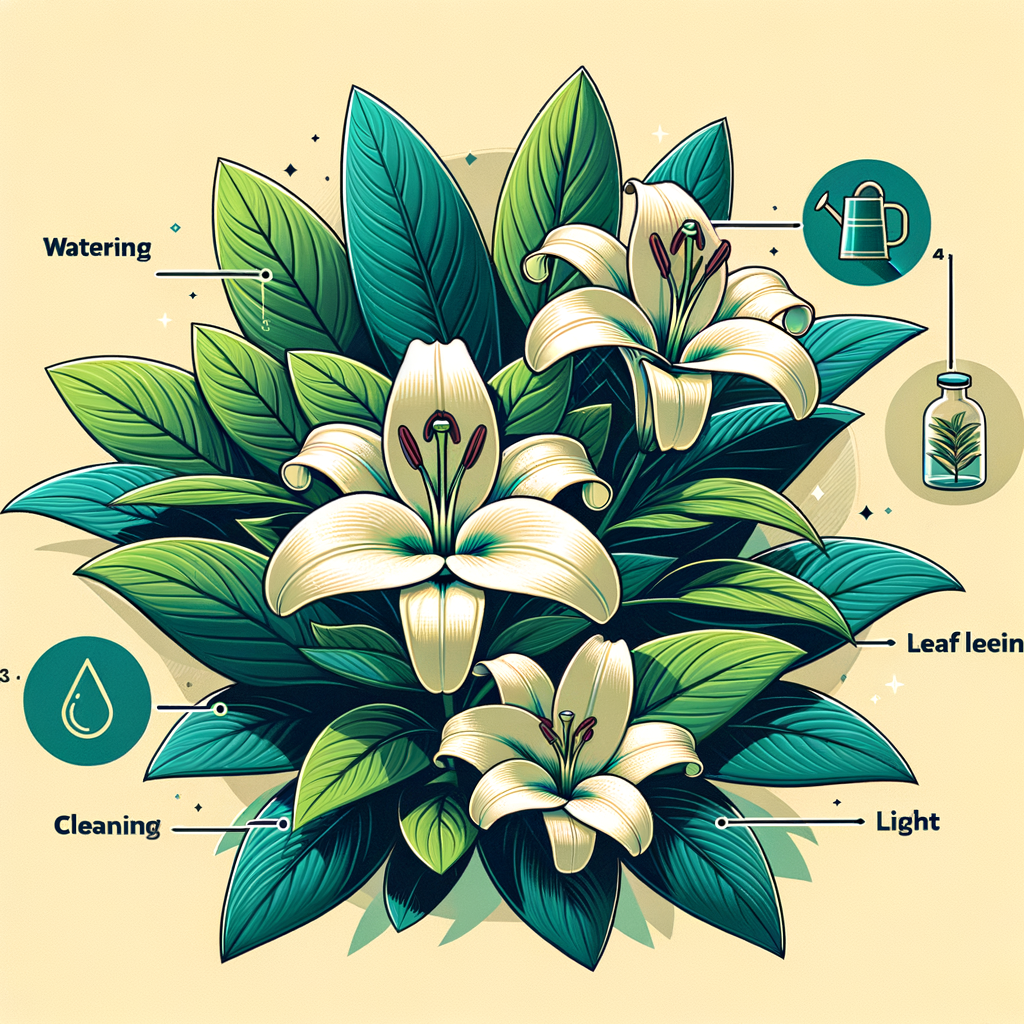
Keeping your lily healthy does not need to be complicated. Start each week by checking the moisture of the soil: simply use your fingers, or for best results, a basic moisture meter. The goal is to keep the soil moist to the touch—never soggy, but never bone-dry either. Especially during warm months or when indoor heating makes the air dry, consider increasing watering frequency just a bit. Over-watering is a more common issue than under-watering, so when in doubt, it is safer to let the top layer dry slightly before you water again.
Lighting is just as important. Lilies—especially peace lily varieties to grow indoors—prefer indirect sunlight. If you see leaves losing their shine or reaching towards a window, it’s a gentle prompt to rotate your pot or move it a little to where the light is softer but still bright. Each time you check watering, take the opportunity to gently wipe dust off the leaves with a damp cloth. Clean leaves can breathe and photosynthesize better, and this quick cleaning is also the best moment to spot any early signs of peace lily common issues, like dry tips or faint spots. If you see pooled water in the saucer under your pot, pour it off immediately to avoid root suffocation, which can quickly lead to yellowing leaves.
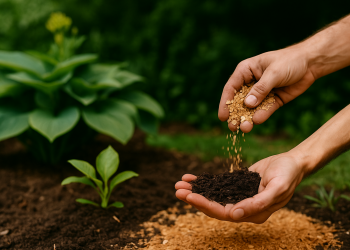
Fertilizer plays a supporting role, not a starring one. Only during the active growing season—typically spring and summer—should you consider feeding your lily. Opt for a formula labeled for lilies, and always use half the recommended amount. A little goes a long way; too much, and you risk burning the roots or stunting growth. Outside of these months, or if your plant seems perfectly content, you can safely skip this step.
When it comes to repotting, less is more. If you don’t see roots protruding from the bottom of the pot or if your lily is still sending up new leaves and blooms, avoid transplanting. Unnecessary repotting leads to stress, which often shows up as droopy, sad leaves. Save this process for when it’s truly needed.
Each week, as you care for your lilies, take a moment to visually scan the plant for any signs of pests or disease. Don’t stress over every blemish—routine observation is your best ally in preventing small issues from becoming big problems.
By keeping these daily and weekly gestures simple and consistent, you’ll stay ahead of most peace lily common issues—ensuring your lilies, whether indoors or in the garden, continue to thrive.
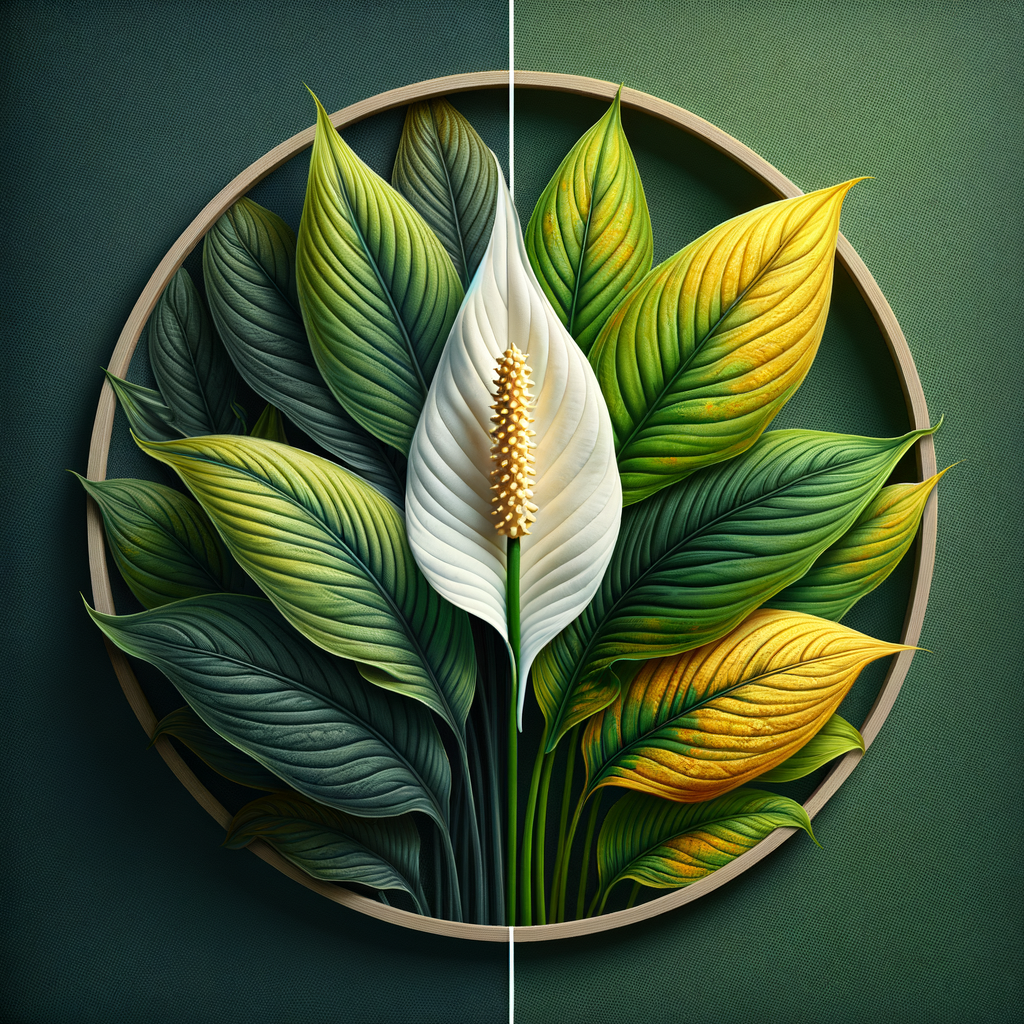
How to Fix Common Peace Lily Problems: Yellow Leaves, Overwatering, and More
Noticing that your peace lily’s leaves are turning yellow, drooping, or developing brown spots can raise alarms, but most problems share straightforward fixes. Let’s break down the most frequent “peace lily common issues” and how to resolve them at home, so you can keep your plant thriving with confidence.
The most common warning sign is yellowing leaves. This typically points to overwatering or poor drainage. If you see yellow leaves, check the soil—it should be barely moist, never soggy. Cut back on watering and ensure the pot has proper drainage holes to let excess water escape. If you’ve been sticking to a rigid watering schedule, keep in mind that peace lilies—like most indoor plants—prefer you to check the actual moisture level instead of following a calendar.
If, on the other hand, your peace lily leaves look limp and droopy, don’t rush to water right away. While dehydration is a likely cause, drooping can also happen when the plant is exposed to cold drafts or sudden temperature changes. Before watering, check the soil for dryness. If it’s moist, move the plant away from chilly spots or vents, and let the environment stabilize. Just a few days of stable, mild conditions can help your peace lily revive its characteristic lushness.
Brown spots on leaves are another common concern. Spotting or browning along the edges often results from direct sunlight scorching the leaves, or from mineral-rich water splashing onto them. To remedy this, relocate your peace lily to an area with filtered light and use only room-temperature water, pouring it directly into the soil—never onto the leaves. If you see persistent dust or residue, gently wipe the foliage with a damp cloth; clean leaves not only look better but breathe more easily, reducing stress and the risk of minor diseases.
When it comes to pests or exotic diseases, indoor peace lilies rarely have major issues—cochinillas, spider mites, and related pests are unusual in protected settings. If you do notice small bugs or sticky residues, a simple wipe-down and quick check of air circulation usually does the trick.
For persistent or unfamiliar problems, it’s wise to consult a more advanced diagnostic guide. But for everyday care, these straightforward tips will help you sidestep the most common concerns—letting your peace lily shine, whatever variety you choose to grow.
Ensuring Long-Term Wellbeing for Your Lily Plant: Advanced Care Resources and Tips
Sustaining your lily plant’s vibrant health over the long term is remarkably simple; it mainly involves making minor adjustments as the seasons shift. For instance, if winter brings less natural light, just move your lily closer to a window—but keep it away from drafts to prevent stress. In summer, be attentive to watering: don’t let the soil dry out completely, but if humidity rises or temperatures are stable, you can ease back on frequency.
Once you feel secure in the basics, you’re ready to elevate your skills further. Light pruning—removing tired or yellowing leaves—can be very rewarding. Exploring how to propagate a peace lily by division or even tackling peace lily common issues like drooping leaves and spotting opens the door to more confident plant care. Investing in the right tools makes these tasks far smoother; essentials like pruning shears and gardening gloves not only protect your plant and your hands but also give you the ease to handle every step.

Whether your journey with lilies is just beginning or ready for the next stage, every new skill is a step toward mastery—supported by carefully chosen tools, expert resources, and the confidence to adapt care as you learn.
As seasons change, remember that Peace Lilies may require subtle care adjustments. Monitoring factors like soil acidity, humidity levels, and light intensity will help you avoid most common issues. With consistent observation and minor tweaks, your indoor lily plant can remain healthy and vibrant all year long.